Hey there! You probably landed here because you’re wondering how to change the batteries in a hardwired smoke detector. There are various types of smoke detectors, and each one might require a slightly different method to replace the battery. In this guide, we’ll walk you through the most common types and how to handle them safely and correctly.
How to Change the Batteries in a Smoke Detector
Types of Smoke Detectors
There are a few different types of smoke detectors that you should be aware of:
- Battery-Only Smoke Detectors:
These use just a battery (usually a 9V or AA/AAA) and need replacement every 6 to 8 months. - Hardwired Smoke Detectors with Battery Backup:
These are the most common in modern homes. They’re typically installed on each floor, in bedrooms, basements, etc. Even though they’re wired into your home’s electrical system, they still need fresh batteries every 6 to 8 months.
When a battery is low, you’ll hear a single beep every minute. That’s your cue to replace it. And here’s a pro tip: don’t just replace one battery—replace them all. Otherwise, you’ll be chasing beeping detectors all week.
Choosing the Right Battery
Smoke detectors typically use one of the following battery types:
- 9V (9-volt)
- AA
- AAA
When buying replacements, avoid cheap, low-quality batteries from the dollar store. Go for reputable brands like Energizer or Duracell. While this isn’t an ad, quality batteries do last significantly longer and reduce how often you have to deal with replacements.
Replacing the Battery – Step by Step
Depending on your smoke detector’s design, the battery compartment may be on the side, front, or back. Here’s how to handle each:
1. Side-Compartment Detectors
These have a small tab you push to open the compartment. Inside, you’ll see the battery.
- Important: Note the polarity (positive and negative) before removing the old battery.
- Insert the new battery the same way. If it doesn’t fit or close properly, the polarity might be reversed.
Some detectors will beep if the battery is inserted incorrectly.
2. Front-Compartment Detectors
These typically have a hinged cover on the front that pops open. Inside, you’ll find a 9V battery:
- Use the tab to pull the battery out.
- Pay attention to the + and – signs inside.
- Install the new battery and firmly close the door.
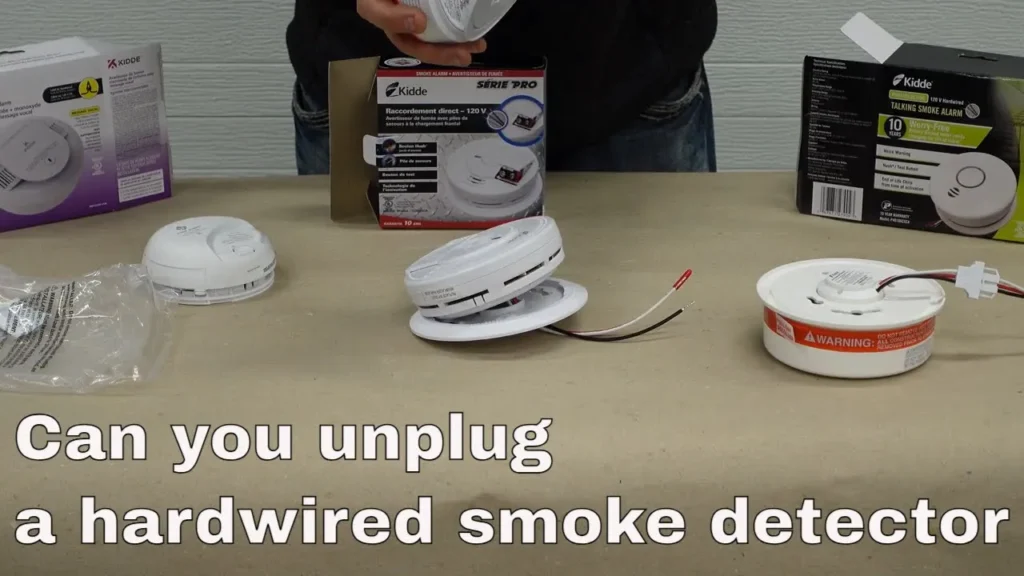
3. Back-Compartment Detectors (Hardwired Models)
These often require unplugging before you can access the battery:
- Unplug the smoke detector from the ceiling or wall (we have another video on how to do this—check that out if you’re unsure).
- Once it’s unplugged, open the back compartment.
- Insert the new batteries (usually AA or AAA), again watching the polarity.
- Reconnect the detector and mount it back in place.
⚠️ Safety Note: If the detector is hardwired, don’t touch the wiring that remains in the ceiling or wall—it could be live and dangerous.
Final Checks
After replacing the batteries:
- Close the compartment securely.
- Plug the detector back in if it was hardwired.
- Test the unit by pressing the test button to ensure it’s working properly.
Wrapping Up
And that’s it! With a bit of attention to battery type and polarity, changing your smoke detector’s batteries is quick and easy.
Don’t forget to check out our other helpful videos—especially if you need help unplugging your smoke detector safely.
Thanks for watching, and be sure to like and subscribe for more helpful tips!