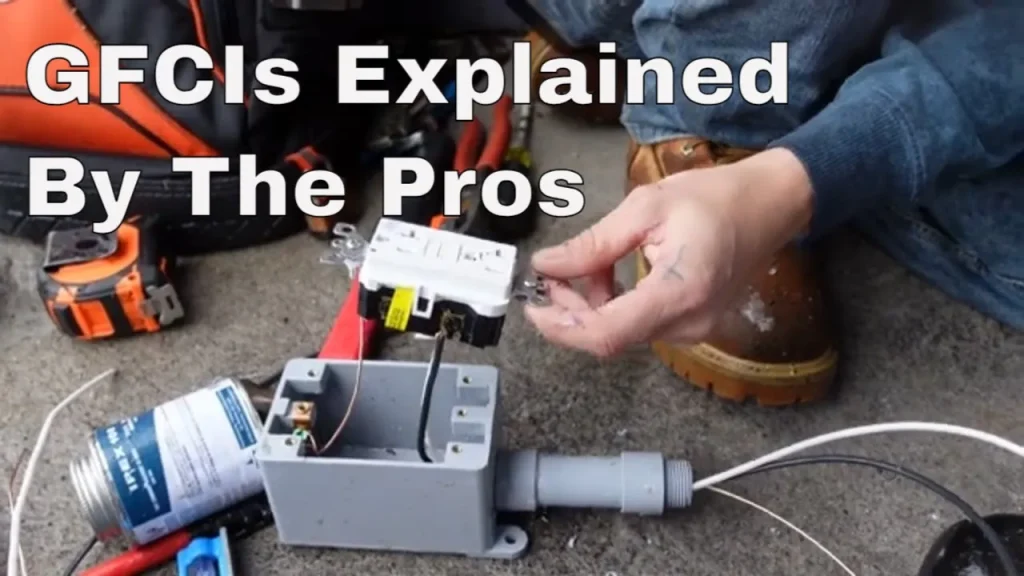
GFCI Replacement: A Viral How To. How to Replace a Standard Outlet with a GFCI Receptacle
Welcome back to the channel! Today, we’re going to walk through how to turn a standard electrical outlet into a GFCI (Ground Fault Circuit Interrupter) outlet. This is an important upgrade for locations where moisture might be present—like bathrooms, kitchens, garages, and outdoor areas.
⚠️ Important: Always shut off the power and consult a licensed electrician if you’re unsure. Never do your own electrical work without proper qualifications.
Why Replace a Regular Outlet With a GFCI?
There are a few key reasons to upgrade:
- Safety: GFCIs protect against electrical shock by shutting off power when a ground fault is detected.
- Code Compliance: Many electrical codes now require GFCIs in kitchens, bathrooms, basements, and outdoor areas.
- Peace of Mind: It’s a simple way to make your home safer.
Step 1: Turn Off the Power
Start by shutting off the circuit at your breaker panel. We used a Klein circuit tracer to identify the right breaker and confirm the outlet was live before switching it off.
Plug the tester into the outlet—if it beeps or lights up, it’s still live. Once it’s off, you’re safe to proceed.
Step 2: Remove the Old Outlet
- Unscrew the cover plate and set it aside.
- Unscrew the receptacle and gently pull it out of the box.
You’ll see three wires:
- Black (hot) – typically connected to the brass screw on the right.
- White (neutral) – connected to the silver screw on the left.
- Bare or green (ground) – connected to the green screw.
Loosen these screws and remove the wires.
Step 3: Understand the GFCI Wiring
On the back of the GFCI, you’ll notice “Line” and “Load” terminals:
- Line is for incoming power.
- Load is optional and only used if you’re protecting additional outlets downstream.
For this example, we’re only using the Line terminals.
There are labels for hot and neutral wires:
- Black wire connects to the brass screw.
- White wire connects to the silver screw.
- Ground connects to the green screw or grounding terminal.
Step 4: Prepare the Wires
Before connecting, restrip the wire ends (about ½ inch) to remove any kinks or old marks. This ensures a clean and secure connection.
Some GFCIs have pressure plates, so no need to hook the wire—just straighten it and slide it under the clamp.
Step 5: Install the GFCI
- Connect the black (hot) wire to the brass screw (left side of the clamp).
- Connect the white (neutral) wire to the silver screw (left side of the clamp).
- Connect the bare ground wire to the green screw at the bottom.
Tighten all connections firmly. We use a Robertson screwdriver for most installs, but a flathead will also work.
💡 Pro Tip: Add a slight clockwise twist to the wires before pushing them back into the box. This helps keep them organized and prevents bunching behind the device.
Step 6: Mount the GFCI & Cover Plate
- Carefully tuck the wires into the box.
- Align the receptacle and fasten it securely with screws.
- Attach the cover plate.
If the drywall around the box is damaged or cut too wide, you can use an oversized wall plate to neatly cover it. These are widely available and great for older homes or patchy drywall work.
Step 7: Power Up and Reset
Once everything is in place, turn the breaker back on.
Here’s a common mistake: the GFCI may appear dead at first. That’s normal! You’ll need to press the reset button to activate the receptacle the first time.
Use a tester to verify correct wiring. All good? You’re done!
Final Thoughts
And there you have it—a properly installed GFCI outlet. If you want to learn more about GFCIs or how to wire multiple outlets off one, check out our other videos (linked at the top of this post).
Reminder: This video was filmed in Canada. Electrical codes vary by region. Always consult a licensed electrician and follow your local regulations.
Thanks for watching and reading! Don’t forget to like and subscribe—and we’ll see you on the next one.


