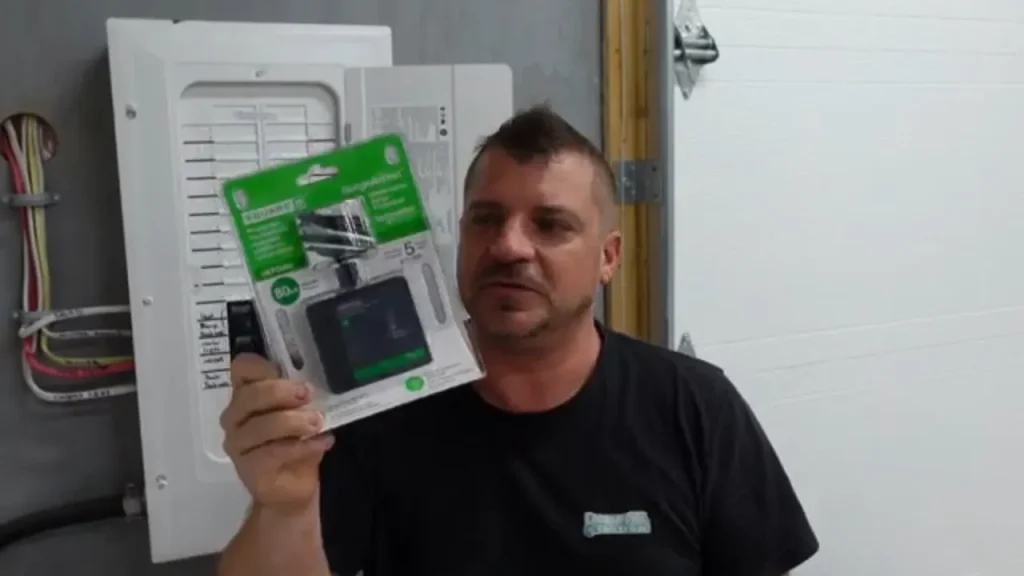
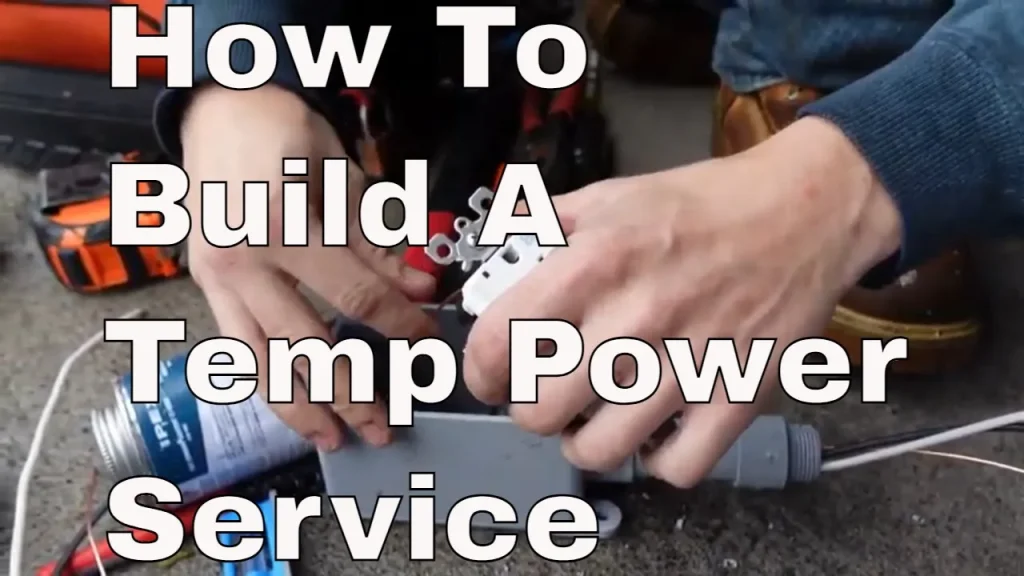
Typically we show you in this video How To Mount A Box Between Studs. These are many different kinds of boxes to choose from which also matters.
How To Mount A Box Between Studs
We’re going to show you a few different styles of boxes used to mount on a stud. Every electrician has their own preference. There’s a particular type we like to use, but we’ll go ahead and show you all the common options.
Basically, there are two main types of boxes: metal and plastic. Many electricians prefer plastic boxes, especially in environments where corrosion is a concern—like near the ocean or in an unfinished shed. These plastic boxes are better in such cases because they also come with a vapor seal, allowing you to bring the vapor barrier right up to the box.
The plastic boxes come with tabs for drywall and are designed to be nailed onto the side of a beam. They have nail holes for easy mounting on the outside.
Metal boxes work similarly and also come with tabs for half-inch drywall. They can be adjusted slightly for 5/8-inch drywall, which is useful in fire-rated situations. These metal boxes can also be wrapped with 6-mil poly vapor barrier, which is commonly used here in Canada.
Types of Electrical Boxes To Mount Between Studs
Let’s talk a bit more about metal boxes. One type we often use is the 1104 LHT, a gangable box. There are also welded versions where the sides are permanently fixed, and deeper models for added space.
There are a few important considerations when choosing between metal and plastic boxes. At the end of the day, our work is only as reliable as the materials we use. If an outlet malfunctions and melts inside the box, would you rather have plastic or metal behind it? Most people would prefer metal, as it provides more resistance to heat and a longer burn time if something goes wrong. However, plastic boxes are still quite popular.
One drawback of welded metal boxes is that they can’t be modified later. If you want to change or expand the box during a renovation, you’d have to remove it completely and install a new one. This is why we like gangable boxes—they’re much easier to work with. You can remove the sides and attach additional boxes as needed.
Installing The Box
Before mounting a gangable box, we usually tighten the screws on the sides to make sure everything is secure. That way, the box won’t come apart during installation. If we need to expand it later, we can easily remove a side and gang another box onto it.
When it comes to mounting the box to a stud, there are a few methods depending on local electrical codes. It’s always best to check your local building or electrical code before doing any electrical work.
For example, in some parts of Canada, if you’re using a sectional box, you need to put a nail or screw right through the entire box to hold it together. In our area, it’s acceptable to mount them either through or on the outside of the box. However, if you’re installing more than two boxes, you might need a brace on the opposite side for support.
A common issue is that many electricians screw the box to the outside of the stud. The problem is that once the drywall is up, it’s very difficult to remove the box later. What we typically do is use the two small screw holes inside the box. We insert screws from the inside, securing it directly to the stud. This way, once the drywall is installed, we can simply pop out the screws and remove the box if needed.
These are just some of the little tricks we’ve learned over the years to make things easier for our clients.
That’s basically all there is to it when it comes to electrical boxes and mounting them to studs. We’ll go into more detail in future videos.
If you found this video helpful, don’t forget to like and subscribe.


